Showing posts with label MZMA. Show all posts

Tuesday, June 25, 2013

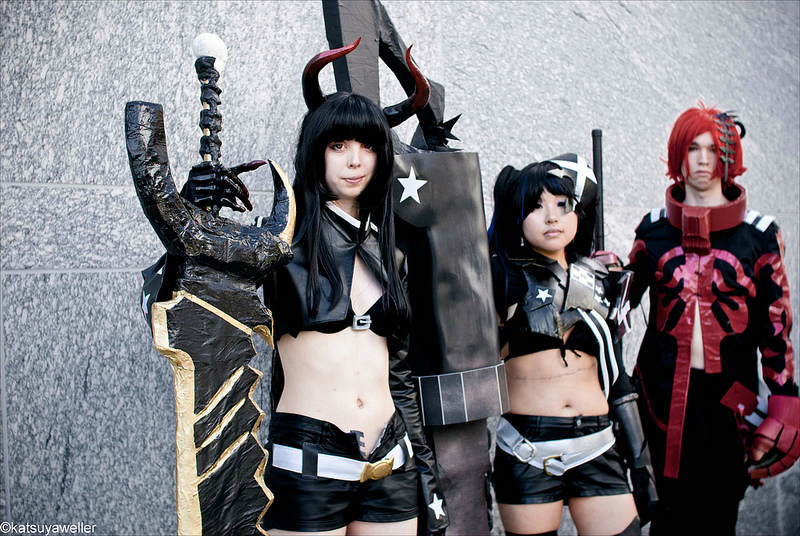
Black Rock Shooter Photoshoot - Katsuya Weller

I'm back with what I believe is the final leftover from the backlog of last year- The Black Rock Shooter photoshoot from the talented Katsuya Weller!  We dragged her all the way to the North Carolina Museum of Art for part of this shoot, and we thank her profusely for putting up with all of our "getting lost while driving" and "having our costumes melt and/or fall apart" nonsense.
Yes, bask in the glory of the giant circles
Stuart's model close-up
Dramatic gaze into the distance
Then we trekked back to the convention center so we could dramatically lay down on the floor.
Careful not to get stepped on


Because I just love my sword SO MUCH
Group shot!
To see all of these pictures in their high-resolution glory, here is Katsuya's AZ 2012 photoshoot set on Flickr.

~Kathryn

Friday, June 29, 2012

MZMA Cosplay - Wig

Yo people!

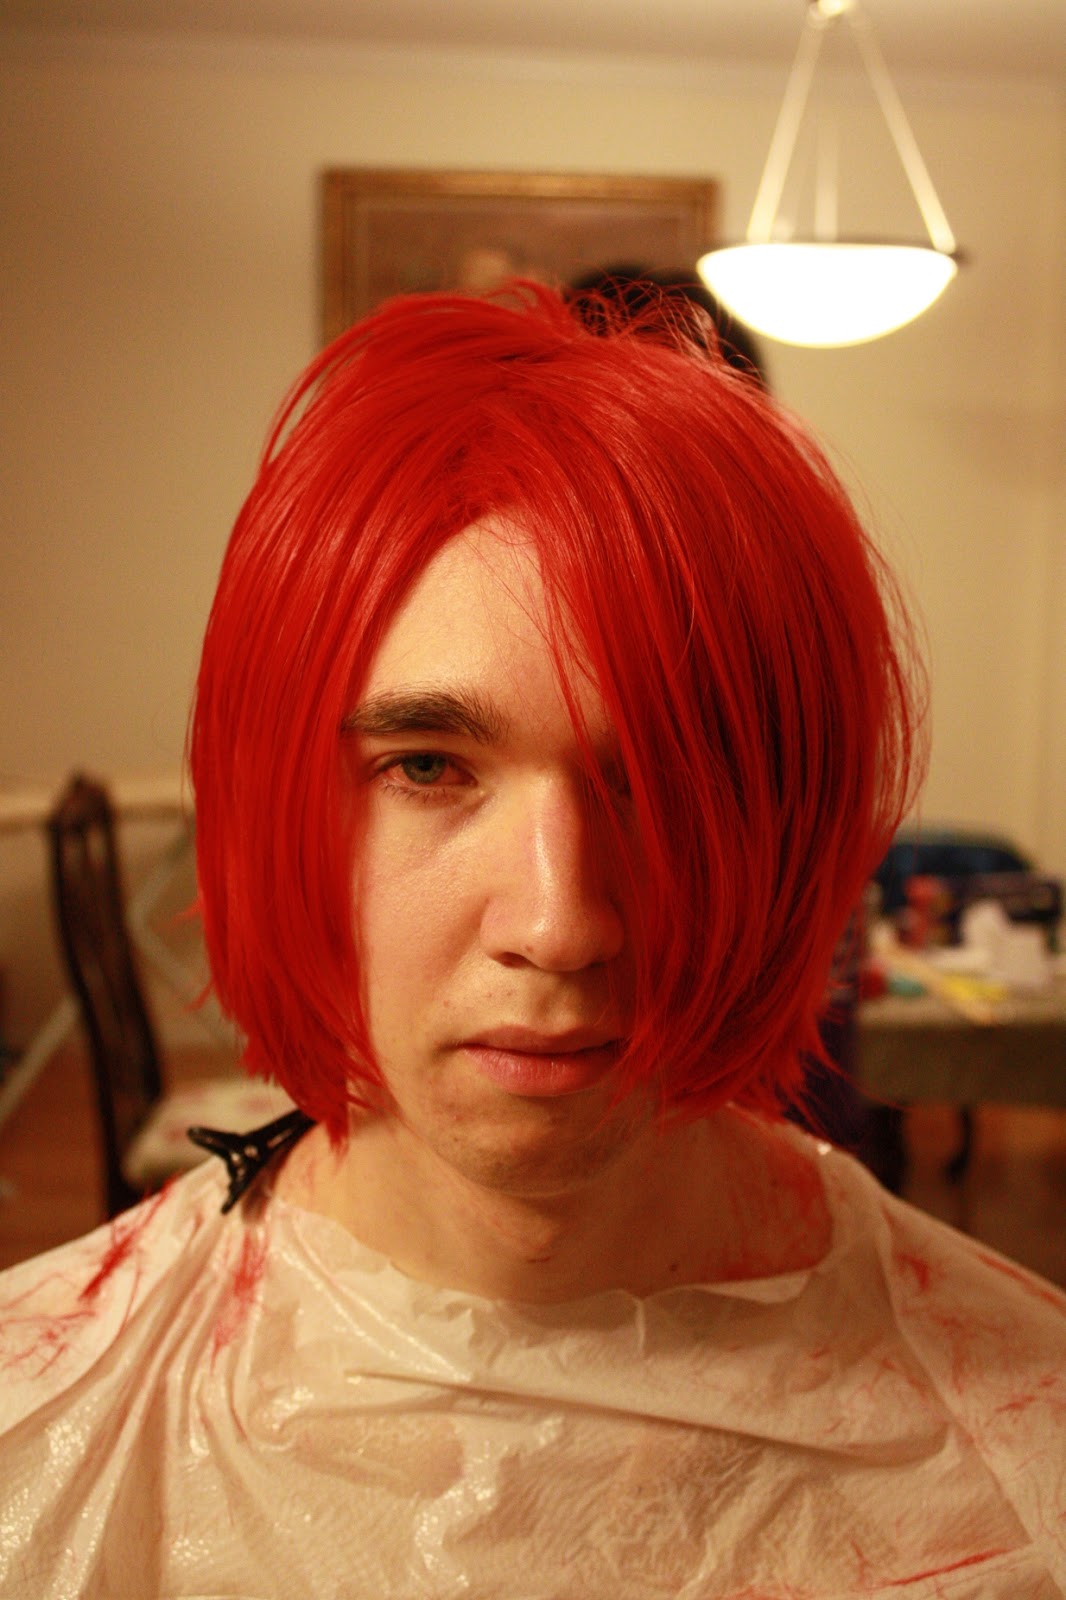
So today I'm going to post some pics of how we styled the wig for MZMA (and by we I mean Mimi).  Now I know that Gachapin's modeling images are still well within your memory, but for reference here he is modeling the CosplayWigsUSA wig we purchased.


...and here it is sitting on m head, uncut and unstyled.


And now the cuts!   Mimi did an awesome job shaping MZMA's wig to what it should look like.  Much was taken off of the front and back.

 And after feathering the wig and giving it some volume, here's what it looked like (notice the little tuft of hair in the back):

[Just as a side note, if you wear a plastic garbage bag on your body while you get your hair/wig cut and styled, you will desperately need to shower afterwards (SOOOO SWEATY XD).]


I think wig turned out awesomely accurate!  The black spinal headpiece was attached with three wig clips.  The wig clips worked well for keeping the headpiece in place, but in practice, only about one was needed.

Thanks to Mimi for all of her hair-cutting expertise and patience!
We'll be back to post more cosplay pics soon, and hopefully we can show you some of our completed costumes :D

THANKS!

-Stuart-

Wednesday, June 6, 2012

We're back! and MZMA Sword Recap

Hello everybody!  Phew, these past couple of weeks have been super super hectic, but SOOO much fun.  After attending Animazement (cosplaying all three days of the con), and after taking a week long trip to Disney World and Universal Studios, Cosplay-vania is finally back home! :)

During the time that we were preparing for Animazement, we kind of neglected our blog for a while Q_Q.  So I thought I'd go back and show the development of one of my favorite parts of my MZMA cosplay - his sword.

We started with a 5.5' by 2' rectangle of thick pink insulation foam board (found at Home Depot).  The foam was then carved down to make a rough outline of sword (except for the side piece near the hilt).  Once carved, we identified a location to place the hilt (in this case, a long, skinny cardboard tube filled with spray insulation foam), and cut a space long enough so that about 2 ft would stick out of the back of the sword.  The tube was then place inside the sword and surrounded with spray insulation foam for adherence and stability.


When the spray foam cured enough, we carved off the top layer so that it was smooth with the rest of the pink insulation board.  Thankfully, this worked really well to keep the tube steady inside the sword.  Using some extra pink insulation foam board, we cut out a piece that would work for that corner piece near the back of the sword.  It was then secured to the rest of the sword using spray foam.
The completed outline of the sword. 


 The remaining spray foam was carved so that the sword was smooth all over.  We then applied paper-mache to the foam components of the sword, and coated it with Mod Podge.


I wish I had more pictures for this next part, but we were in a time crunch and could not take many pics.  We spray painted the sword red and used black electrical tape to cover the hilt.  Red and black fun foam pieces were used to detail the tip of the sword, and pieces of industrial pipe foam were used to make those large black protrusions near the middle and backside of the sword.  Hot glue was our adhesive of choice :P  As a final detail, we used gold dimensional paint to outline parts of the tip and black dimensional paint to make the holes in the tip.


Because I had to cut many pieces of pipe foam to get the shapes right, the sword came out looking more rugged than polished, which actually worked out alright.  Also, because it was surrounded in pipe foam, the sword was nice and squishy, hehe.  Once we get some more pictures from our photographers, you will be able to see the full sword, and its size compared to my height.  Mimi helped out TREMENDOUSLY in the concept and creating of the sword.  I really couldn't have made this in time without her.

Thanks everyone, and we'll be sure post more often now that we have time and are not on vacation, hahaha. 

~Stuart~

Thursday, May 10, 2012

UPDATES! - Potpourri of progress

WAH, finally more progress from my side of cosplay. I've been totally absent from the blog for WEEKS, so this update is badly needed.  Ok so here's what what's been worked on so far:

1) Deus Ex Machina - Mask and crown
Mimi graciously created the crown in about an hour's time (excluding the time it took to for things to dry). The general shape was cut out of fun foam, mod-podged, and then spray painted.  Afterwards, Mimi took some gold 3D paint and created the superficial designs on the crown. Then, the whole thing was glued together in a circle.  Finally, Mimi took a hair dryer and heat formed the crown to be droopy like Deus' is.  :D.


The mask has also been completed.  The basic frame and white coat of spray paint have been finished for a while, but with limited pictures taken of them.  So Deus' face now looks pretty cool and angular, just like it should, hehe.  Mimi added the eyes with a couple of brush strokes of black paint.  


The major problem I predict with this mask is the limited visibility....that is I foresee not seeing.  See those to little triangles under the eyes?  Yup, that's where my eyes go, lol. Granted, I've tested it out, and I can see most things, but my peripheral vision will be significantly hindered.  

2)  MZMA - Gloves
To create these gloves, I meticulously cut out many craft foam squares and hot glued them on to the hockey gloves I purchased.......it doesn't sound as exciting written out as I thought it would, but hey, it's the truth.  These gloves aren't exactly accurate with the design of MZMA's, but they are pretty darn close.  This discrepancy comes from the joint placement within the gloves.  Sometimes, you gotta sacrifice design for functionality though, hehe.  


3) MZMA - Headpiece

I've cut MZMA's spinal cord and pelvis head piece out of fun foam.  My next steps with this will be to make it more three-dimensional looking and attaching it to the wig (you know, the one Gachapin modeled ;P).

4) MZMA - Coat

Here's a wonderfully messy work-in-progress shot of the gluing of one side of MZMA's coat.  The patterns on the coat have been cut out of red vinyl fabric and have been glued to the coat.  More pictures will come along as I (with tons and tons of Mimi's help [thanks so much MIMI!!!]) glue the rest on.


Well, that's all for now.  Next time (which will be MUCH SOONER than my previous posts) will be Deus' fingers, more of MZMA's coat and head piece, and MZMA's sword progress.  Now I gotta sleep so I can wake up EARLY in the morning.  Thanks guys!  

~Stuart~

Monday, March 26, 2012

Sneak peak at our cosplay contacts

Stuey and I have received our contacts from Pinkyparadise for a while now (about a week or two), here are some sneak peaks at them before we do a review (we don't want to open them too soon):


The pink one is for IBRS and the red one is for MZMA!

Hopefully more exciting posts are coming soon~ whenever we stop procrastinating and get to work >.>

Mimi

Tuesday, March 13, 2012

Cosplay Progress - Mask Construction and Gloves

Ahh progress, it is nice to finally post you again, hehe.  Since my last update, I've added plenty more craft foam and hot glue to continue the formation of Deus Ex Machina's mask.  At this point, the task is a little more strategic than just gluing foam everywhere I could.   I am still constantly looking back at the reference photos to make sure I am accurate with my shapes, but through this process I am getting a better sense of how to make the angles work for me.  Mimi has offered plenty of her help in creating this mask in the form of advice and some hot gluing (even acquiring some burns in the process Q_Q).  

Anyways, here's my updated progress gallery:


Created the upper eye framework.
 ~~~~~~~~~~~~~~~~~~~~~~~~~~~~~~~~~~~~~~~~~~~~~~~~~~~~~~~~~~~~~~~~~~

~~~~~~~~~~~~~~~~~~~~~~~~~~~~~~~~~~~~~~~~~~~~~~~~~~~~~~~~~~~~~~~~~~~


Built the cheek and chin frame work. Also replaced his "tooth" under the eye framework and bent the chin.
~~~~~~~~~~~~~~~~~~~~~~~~~~~~~~~~~~~~~~~~~~~~~~~~~~~~~~~~~~~~~~~~~~~
Also in progress news, I received some hockey gloves that I will use as a base material for my MZMA gloves.  I got the idea for using hockey gloves from this Instructables tutorial on how to make Hell Boy's RHoD. These things are HUGE on my hands, so they will work perfectly for MZMA.  I plan to cover the tops in red fun foam and maybe spray paint an orange gradient on to it afterwards, but that's just me thinking.


We cut off the BAUER logo part to make room for the craft foam that  we will use.  
The most pressing issue for these used hockey gloves is to remove their intense smell of sweat.  If anyone has any good ideas on a deodorant for these, let me know (THEY REALLY STINK!!!! X___X)

Thanks, I will keep you guys updated! :D

-Stuart-

[[[Here's a link to the next update]]]

[[[For reference, here's a link to the last update]]]

Saturday, March 10, 2012

Details on the MZMA costume

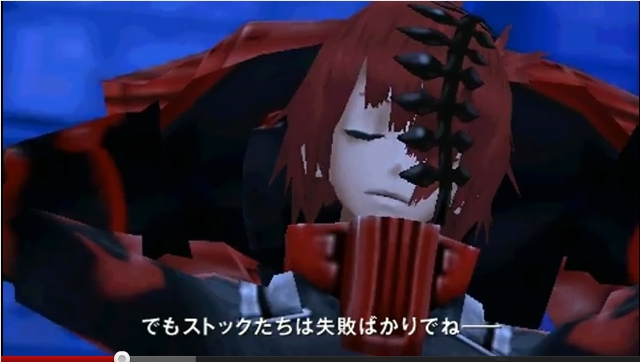
I'm posting some screencaps from the Black Rock Shooter PSP game for Stuart and others are are thinking about doing MZMA cosplay.  The quality of the pictures are low, but hopefully it shows enough details for people to understand the motifs on his jacket.

Front view

Details on the collar and head piece

Details on the glove

Details on the sword and glove

Back view

Back view

Front motif detail

Leg pouch detail

Back of head
That's that!  Hopefully this can be useful for the people out there planning to cosplay MZMA.  I'm still having difficulties understanding his coat (is it a long coat + skirt or a short coat + skirt?).

Anyways, here's a preview of upcoming wig review from Gachapin!

Don't forget to subscribe/follow our blog!!!  We also added a new fish feature on the side for you to play with.  Thank you!

Mimi
Related Posts Plugin for WordPress, Blogger...